Tutorial: Compress Your Files with 7-Zip
Earlier today, I asked a colleague to send his works with its attachments. Due to the attachments huge size, the guy is having a hard time uploading – my guess is it’s also because of the fast blazing internet speed here in the Philippines *I’m being sarcastic*. And so I told him “just compressed those files and send it over”. And he asked, “Compressed..? What’s that? Would it cost me a buck for this software?”Nope this software is free, simply follow these steps and it will help you a lot in compressing your files, save lot of space, and optimize your attachments.
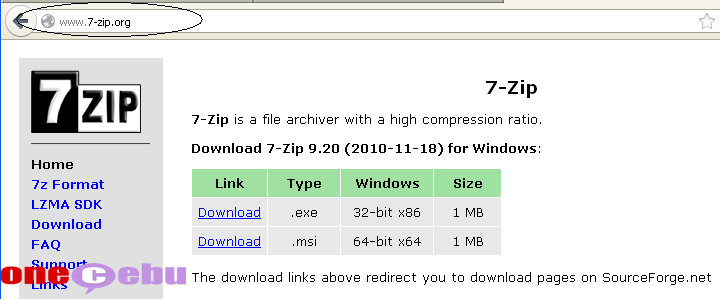
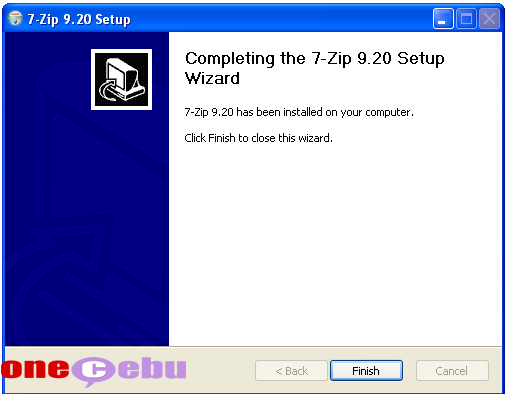
Step 1. Since we are talking about free, we need to download and install the “compression software” called 7-Zip at http://www.7-zip.org/
Step 2. Open your 7-Zip File Manager.
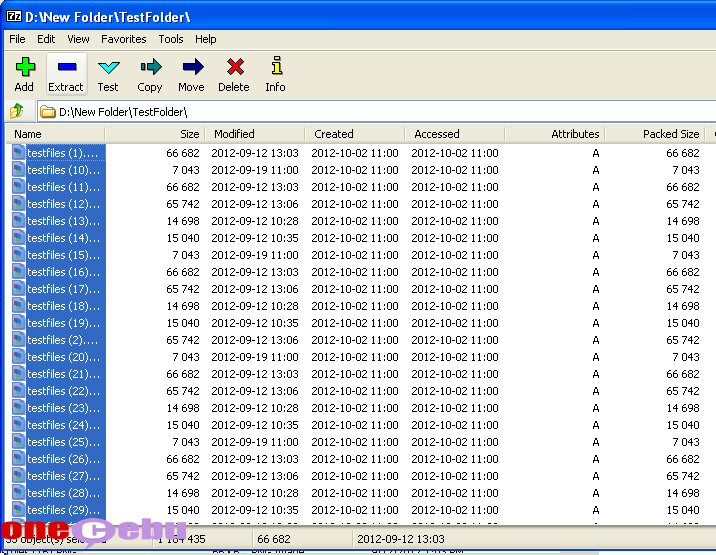
Step 3. Navigate to the location of the files you wanted to be compressed.
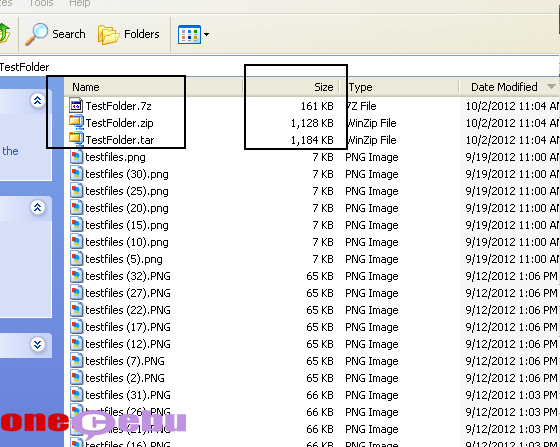
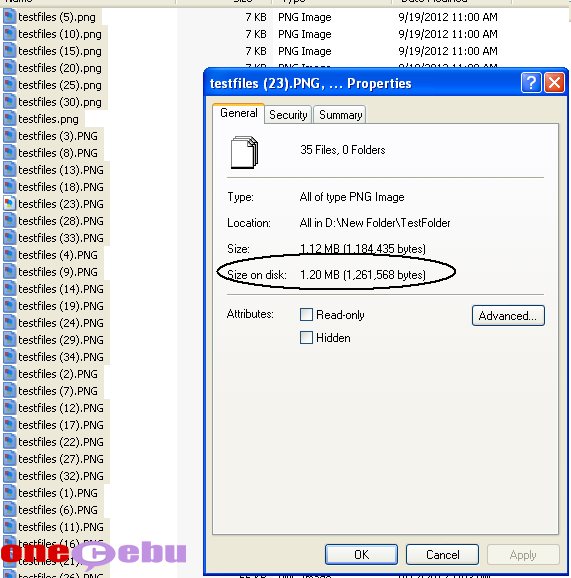
For my case, I have 35 files with a combined size of 1.2MB. Hey, no need to check for your files’ combined size. I’m showing it for the benefit of this tutorial.
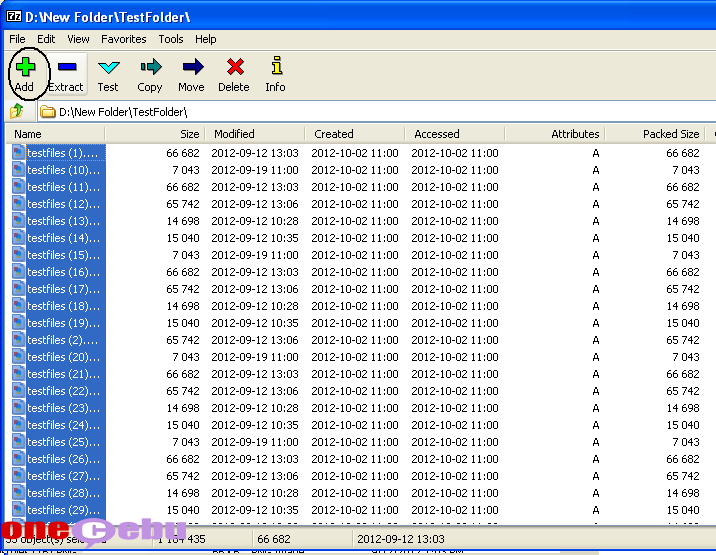
Step 4. Select all the items to be compressed, and then click “+” icon.
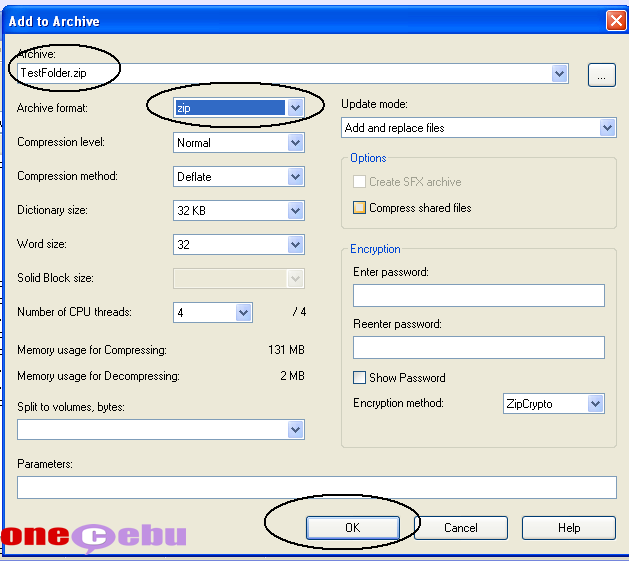
Step 5. Enter your preferred filename for this compressed file, its compression format e.g. 7z, ZIP, Tar, etc. and then click “OK” button.
And you’re done!
I made 3 compressed files to check which format provides the best compression result.